
How To Install Google Analytics for WordPress
Do you want to know how to install Google Analytics for WordPress?
Getting insights into your audience from Google Analytics is essential to setting yourself up for success – and staying there once you've achieved your goals.
Google Analytics provides arguably the best, FREE traffic stats, and you NEED it for your blog.
Here, I'll how you how to install Google Analytics for WordPress in the easiest way possible.
This post is part of my Start A Profitable Blog Post {with Step-By-Step Instructions}
Why is Google Analytics Important?
If you've started a blog, and are working your way through the steps for success, you are working towards getting more traffic. More traffic translates into making more money with your blog, and Google Analytics helps you use data on your current website visitors to make decisions that will bring in even more traffic.
Who Visits Your Website:
This part of Google Analytics shows you the following:
- Where is your audience located?
- Which browser did your visitors use?
- What language do they speak?
- What is the age of your visitors?
- Screen resolutions
- and much, much, more
This data can be overwhelming as well as useful, so don't dig into it until you're ready.
The biggest thing you can do with it is make sure that you website and content are friendly towards your audience.
What do People Do On Your Website:
Google Analytics will allow you to track where visitors are spending time on your website (your most popular posts and pages), how long they stay, and what your bounce rate is.
You can use this information to enhance your most popular posts and pages, as well as decrease your bounce rate.
When do People Visit Your Website:
Google Analytics gives you a really neat heatmap, showing you what times of the day the most people are on your website.
You can then schedule posts to publish during those hours and they will reach the most people they can.
How To People Find Your Website:
Where did your visitors come from?
This section of Google Analytics show you referrers: Facebook, Twitter, Pinterest, search engines, email list, another blog post, etc.
It also shows you what percentage of your visitors come from each source.
This information shows you which referral sources you need to work with the most. For example, if Pinterest sends you the most traffic, you should probably focus more of your efforts on it, than on any other referral source.
If your top website is another website or blog post, then it would be smart to reach out to that website for a collaboration or partnership.
How To People Use Your Content:
Google Analytics also shows you what people do with your website – whether they click certain links more than others, whether they use your navigation menu, or even how long they stay on each particular page.
Sign Up For Google Analytics
Step 1: Create a Google Analytics account by visiting the Signup Page
You will see a screen like this:
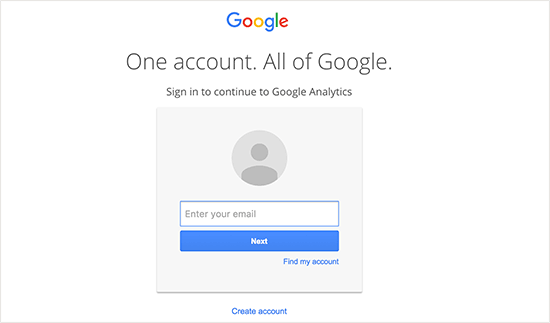
If you have already set up a Gmail account, use that to start the sign-up process. If you do not have a Gmail account yet, enter the one you would like to use, and the screen will guide you through the process of creating one.
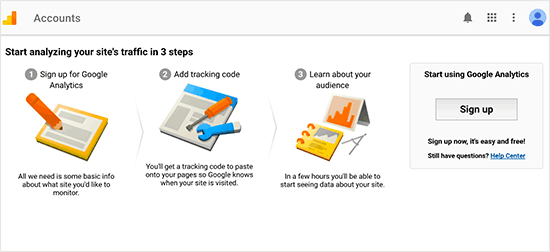
Step 2:
Once you've signed in with your Gmail account (or created one), you will follow the prompts give to you. The first one will look like this:
Step 3:
The next screen will provide you with a form to fill out giving information about whether your are signing up for Google Analytics for a website or mobile app, what the website location is, what your account name will be, your country, and timezone.
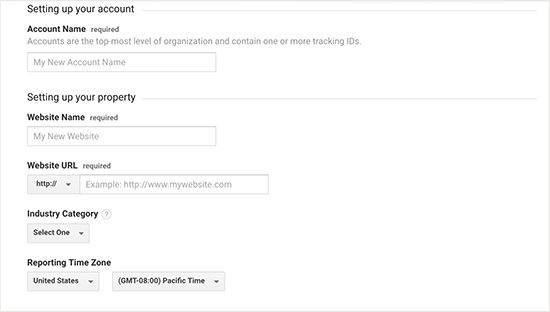
Enter the requested information, then click “Get Tracking ID” at the bottom of the page.
The next screen will give you the Google Analytics terms of service, which you must agree to, so click “I Agree” to move on.
Step 4:
After you agree, Google Analytics will give you your tracking code, which will need to be embedded on your WordPress website.
Don't worry – I'll show you how to embed it very easily.
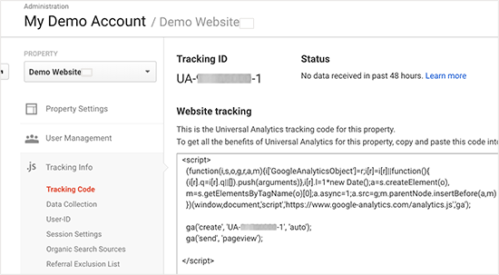
Leave Google Analytics open in a browser tab to have the tracking code readily available as we move on to the next step.
How To Install Google Analytics for WordPress
I'm going to show you the easiest way to not only install Google Analytics for your WordPress blog, how to track your Analytics right on your WordPress Dashboard.
Step 1: Download Google Analytics Dashboard for WP (GADWP)
GADWP has more than 1 Million installations, and is frequently updated.
Download it by clicking the Download button:
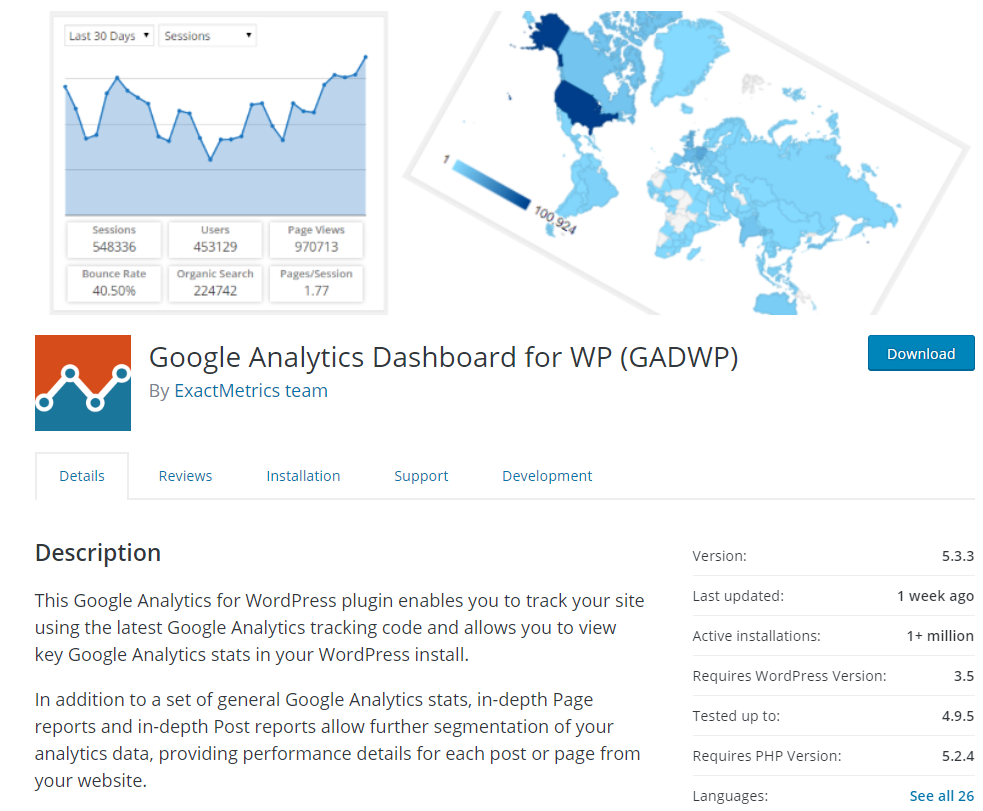
This will download as a ZIP file, which you will upload the the plugins of your website.
Step 2: Authorize GADWP
Go to your WordPress Dashboard.
On the left hand side, click plugins, then find GADWP and click “Activate.”
Next, click “Settings” under the GADWP plugin.

The next screen you see will ask you to authorize Google Analytics. Click the blue button to Authorize Google Analytics, follow the prompts to sign into your Google Analytics account, and GADWP will do the rest.
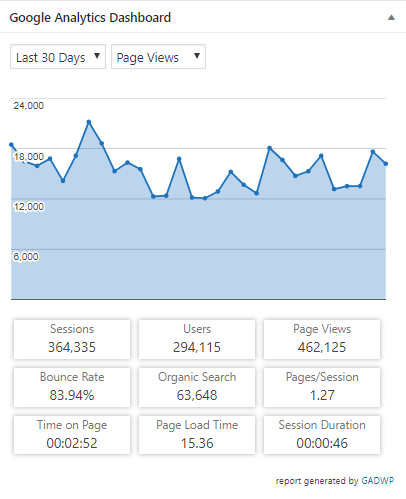
Add GADWP To Your WordPress Dashboard
Now that you've installed and activated GADWP, your Google Analytics accounts is running and tracking real time data for you.
Personally, I love being able to see stats right on my WordPress Dashboard.
On the top, right hand of your WordPress Dashboard, click “Screen Options” then check the box that says “Google Analytics Dashboard.”
This will add GADWP as a tile on your dashboard so you can track stats more easily. It looks like this:
I hope this helps you quickly and easily Install Google Analytics for WordPress.
This post was a part of my Step-By-Step Guide to Starting a Profitable Blog, which I highly suggest you check out!
If you have any questions, drop a comment below and I'll do my best to help!
xoxo,
Gretchen
Get all my blogging tips & reports delivered straight to your inbo —> Sign up here:

This post may contain affiliate links. See my disclosures for more information.


Leave a Reply