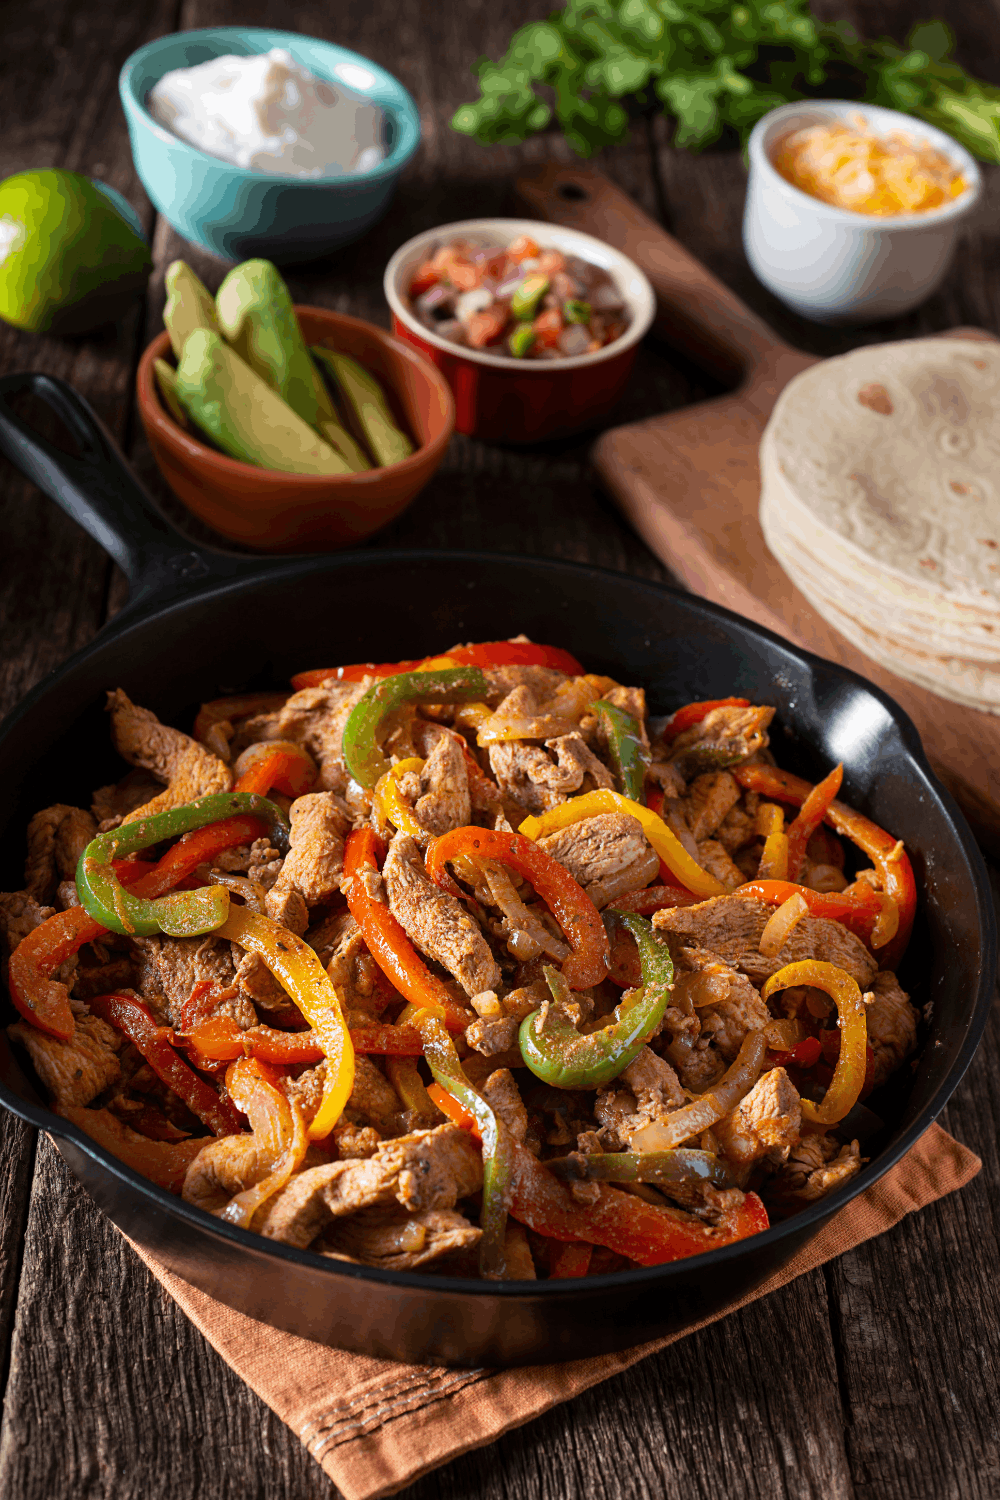
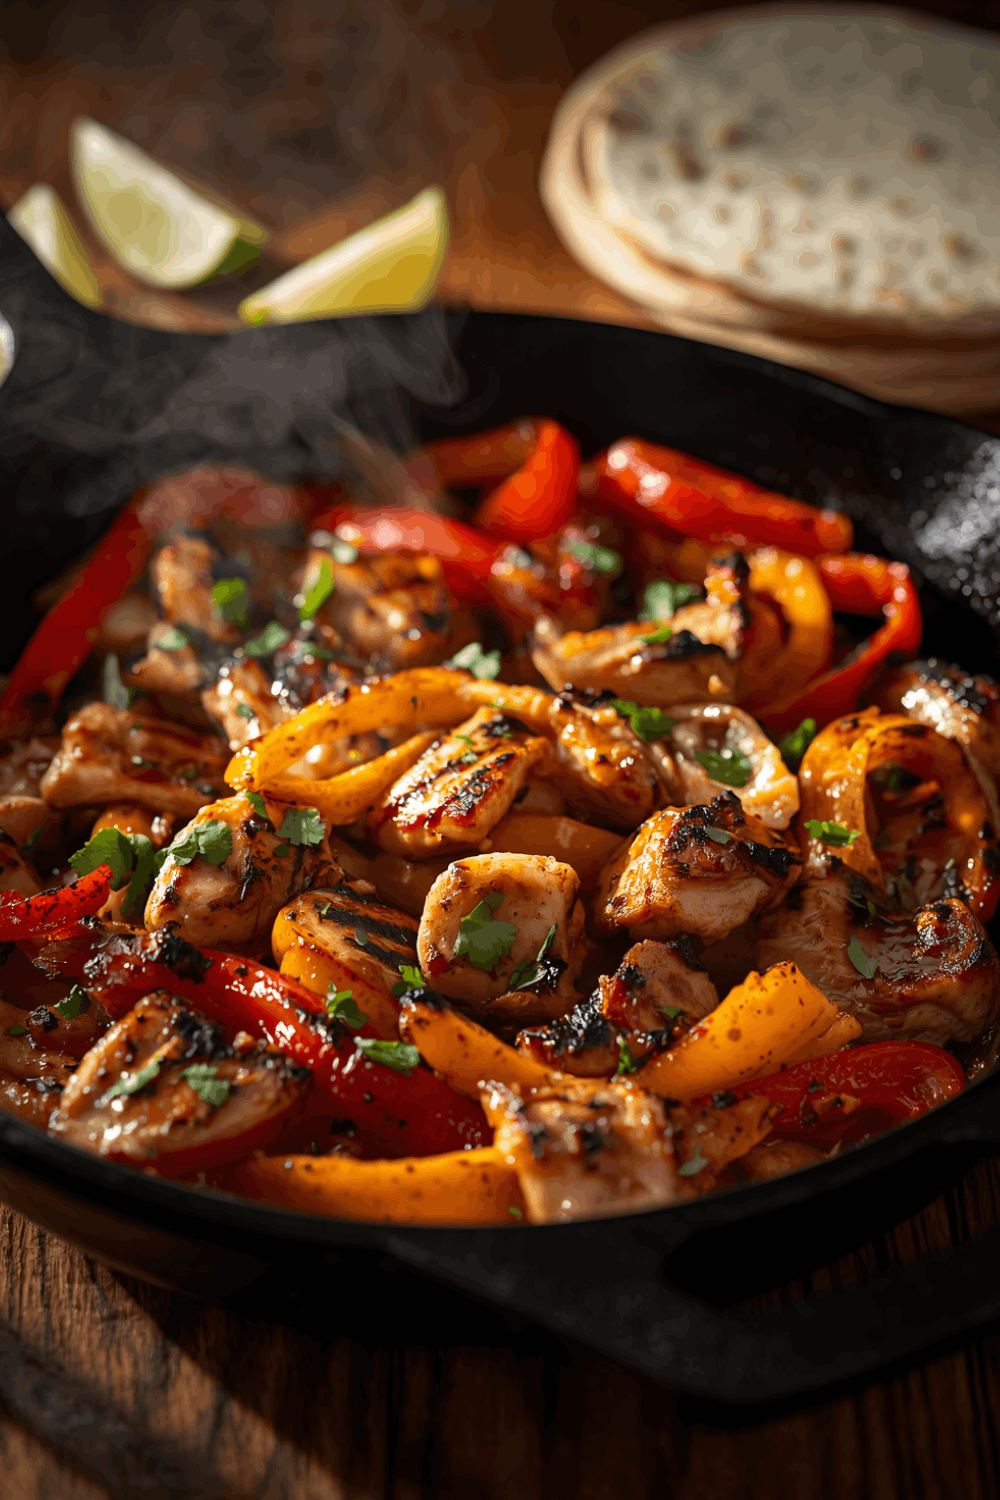
Learn how to make juicy restaurant-style chicken fajitas at home using a simple marinade, high heat, and the right searing technique. This recipe includes step-by-step instructions, ingredient tips, and pro secrets for perfectly charred peppers and tender chicken every time.
Easy Chicken Fajita Recipe
You know that when a cast-iron skillet hits your table at a restaurant, steam rolling off charred peppers and juicy chicken strips, and you think, “I could never do this at home”?
You absolutely can. The secret isn't a fancy grill or some chef-level technique. It's high heat, a marinade that actually sticks with the meat, and not crowding your pan like you're playing chicken Tetris. Restaurant fajitas work because they get aggressively hot and fast. Your stove can do that too.
I'll make this easy. You'll learn exactly how long to marinate, what temperature gets you that char without drying out the chicken, and how to build layers of flavor that make every bite worth the squeeze of lime juice.
Let's get that sizzle going in your own kitchen.
The Texas-Mexico Border Story You Taste in Every Bite
Fajitas started as ranch hand food in the Rio Grande Valley back in the 1930s. Vaqueros (Mexican cowboys) were often paid in throwaway cuts of beef, mainly skirt steak, which they'd grill over open flames and wrap in flour tortillas. The term “fajita” comes from “faja,” meaning belt or sash, referencing the strip-like appearance of skirt steak. Chicken fajitas didn't show up until the late 1970s and early 1980s when Tex-Mex restaurants in Texas began adapting the dish for broader appeal and menu flexibility. What made fajitas explode wasn't authenticity but spectacle. Restaurants started serving them on sizzling platters, creating that dramatic tableside moment that became synonymous with the dish. Now, chicken fajitas are a weeknight staple across the U.S., leaning on the same high-heat char and bold seasoning that made the original so crave-worthy.
The chicken version works because it's faster, milder, and takes on marinade more aggressively than beef. You're not chasing tradition here. You're chasing flavor, smoke, and that juice-running-down-your-arm satisfaction. That's the legacy worth keeping.
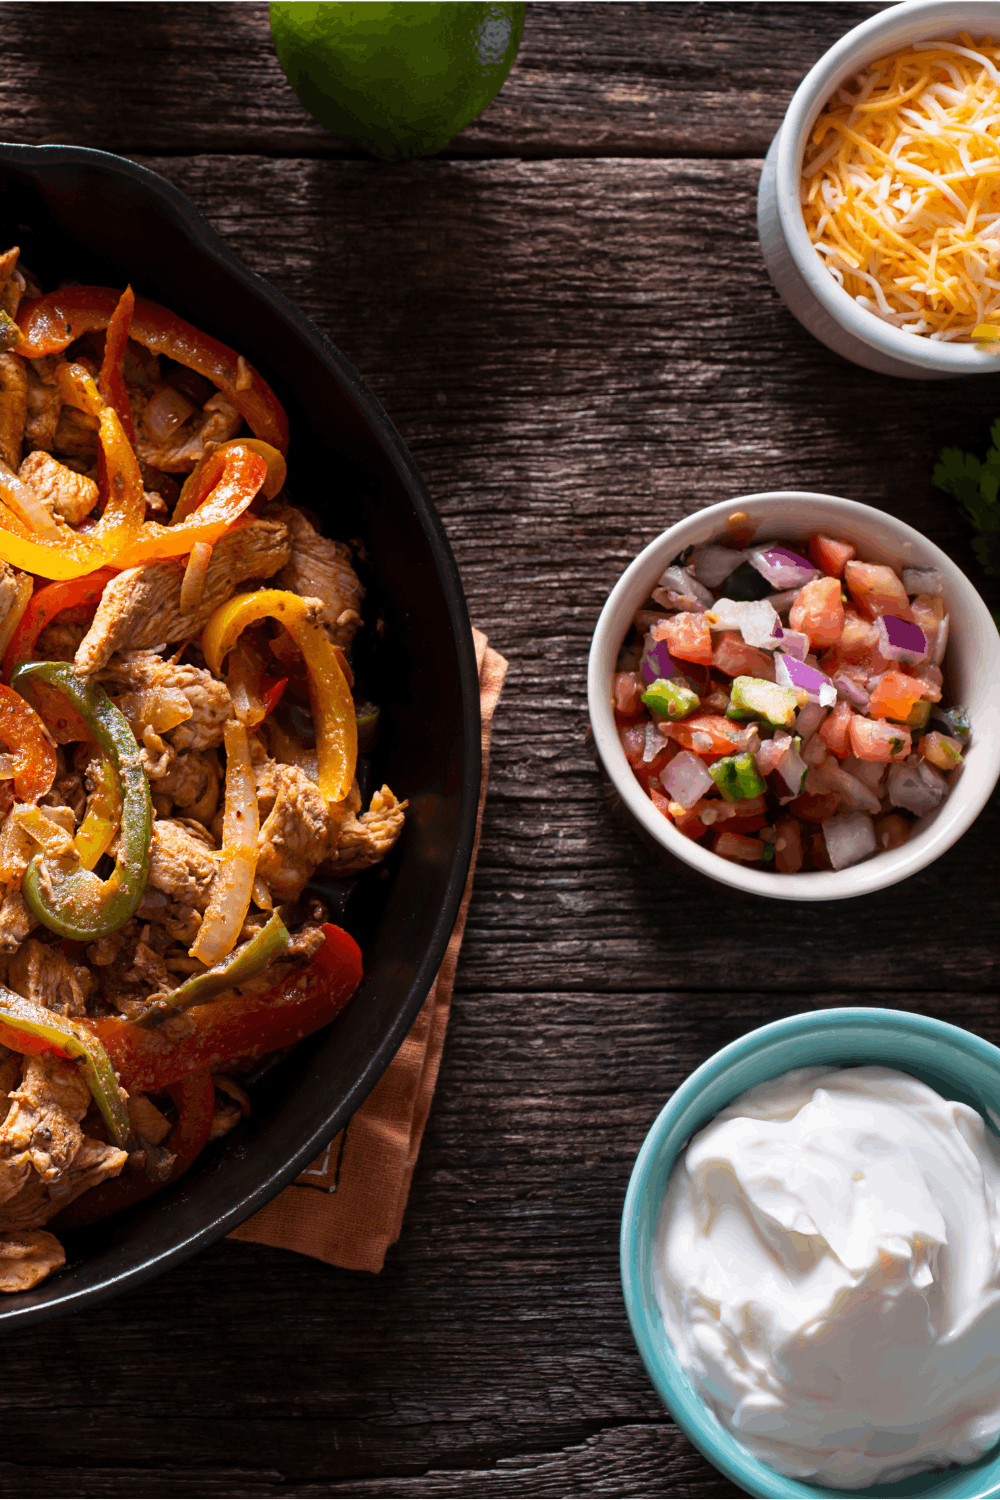
Why This Recipe Delivers Every Single Time
This isn't another “toss chicken in a pan and hope” situation.
The marinade does two things most recipes skip: it tenderizes and it seasons deep. Lime juice and a small hit of acid break down the surface proteins on the chicken without turning it mushy. You're not soaking it overnight. Just 30 minutes to 2 hours is the sweet spot. Olive oil helps the seasoning stick and creates better browning. Garlic powder, chili powder, and a pinch of brown sugar balance the tangy-savory-sweet axis that makes fajitas taste like fajitas, not just seasoned chicken.
High heat is non-negotiable. Medium-high to high heat on a large skillet or cast-iron creates the Maillard reaction, which is the caramelization and char you see on restaurant fajitas. If your pan isn't hot enough, the chicken steams instead of sears. You lose texture. You lose flavor.
Cook in batches. Crowding the pan drops the temperature instantly. When chicken and peppers release moisture and the heat can't recover fast enough, everything turns gray and soggy. Give each piece room to breathe, and you'll get those golden-brown edges every time.
The pepper and onion mixture gets cooked separately after the chicken, which lets you control texture. You want them charred but still with some bite, not floppy and overcooked. Cooking them in the same pan after the chicken also picks up all those browned bits stuck to the bottom, which adds another layer of savory depth.
This approach gives you juicy chicken, caramelized vegetables, and a fajita filling that actually tastes like it came from a restaurant, not a meal kit.
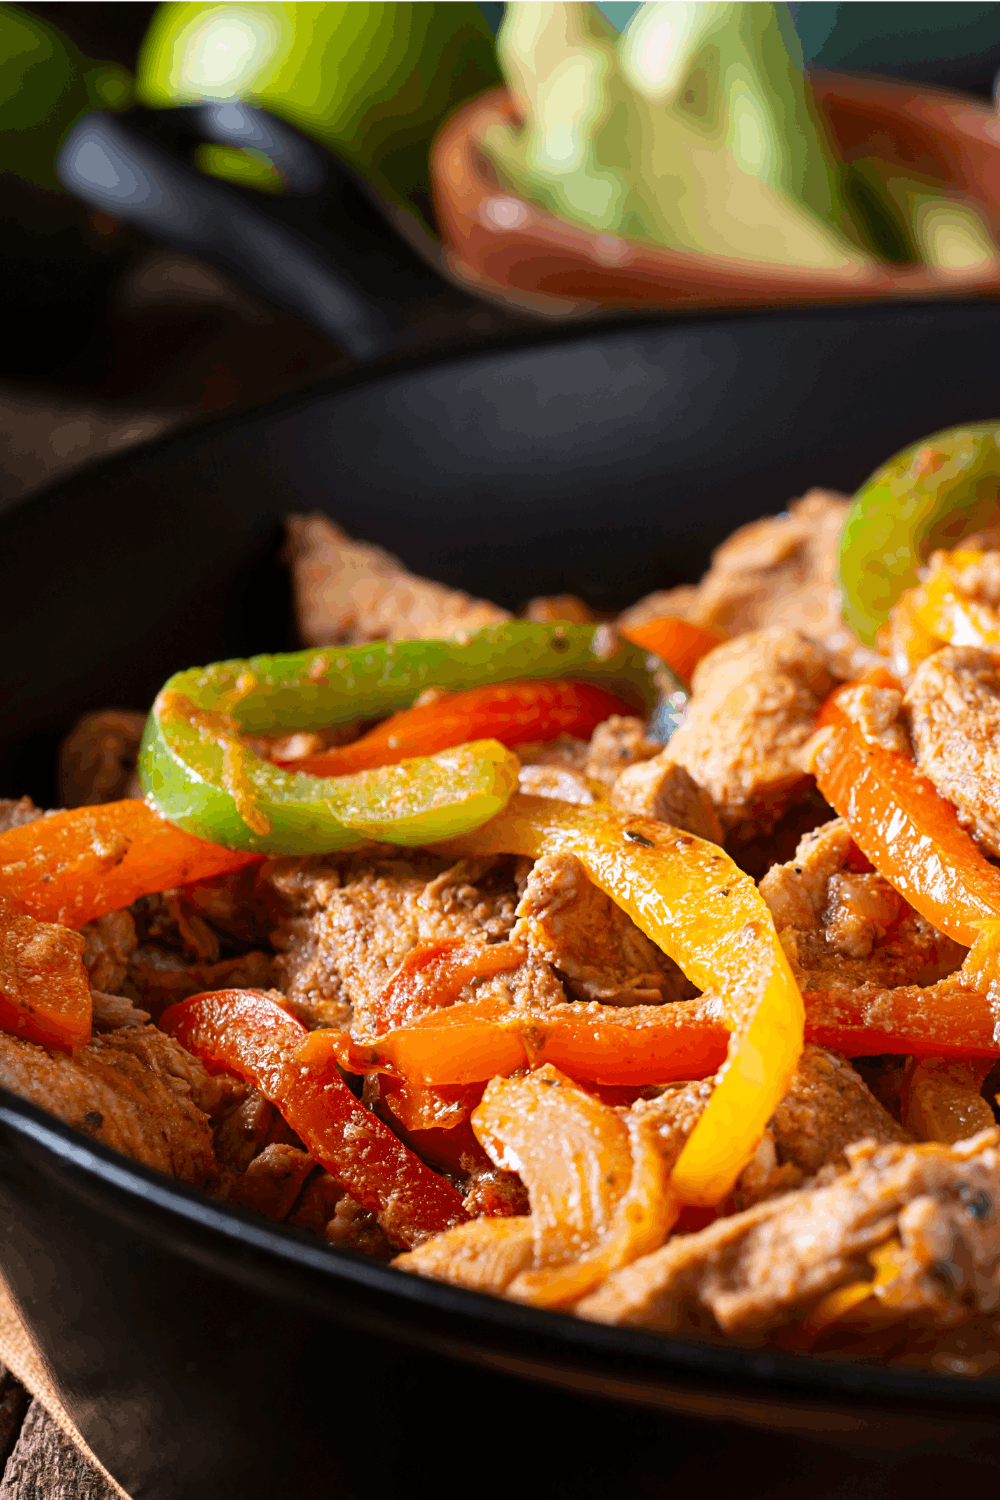
The Tools That Make or Break Your Fajitas
You don't need a full Tex-Mex kitchen, but a few key pieces will seriously level up your results.
- Large skillet or cast-iron skillet: A 12-inch pan gives you enough surface area to sear without crowding. Cast iron holds heat better and creates more aggressive browning, but a heavy-bottomed stainless steel skillet works too. Nonstick pans don't get hot enough for proper char.
- Sharp knife and cutting board: You'll be slicing chicken breasts into even strips and cutting bell peppers into uniform pieces. Uneven cuts = uneven cooking. A sharp blade makes this faster and safer.
- Large bowl for marinating: You need enough room to toss the chicken with the marinade and actually coat every piece. A gallon-sized zip-top bag works too and makes cleanup easier.
- Tongs or a wooden spoon: For flipping chicken strips and tossing vegetables without tearing them apart. Tongs give you more control in a hot pan.
- Meat thermometer (optional but clutch): Chicken is done at 165°F internal temp. A quick-read thermometer eliminates the guesswork and prevents you from overcooking.
If you don't have a cast-iron skillet, use the heaviest pan you own and preheat it for a full 3 to 4 minutes before adding oil. The goal is a surface hot enough that chicken sizzles the second it hits the pan.
No fancy equipment. Just heat, sharp tools, and a little patience.
What Each Ingredient Actually Does in This Recipe
Most fajita recipes just list ingredients without explaining why they're there or what happens if you swap them.
Here's the breakdown.
Chicken breasts : Lean, quick-cooking, and takes on marinade well. Slice them into strips about half an inch thick for even cooking. Chicken thighs work too and stay juicier, but they take a few extra minutes and have a richer, fattier flavor. If you use thighs, trim any large pieces of fat.
Lime juice (: The acid tenderizes the surface of the chicken and adds brightness. Don't marinate longer than 2 hours or the texture gets mealy.
Olive oil : Helps seasoning stick to the chicken and creates better browning. Canola oil works too and has a higher smoke point, which is great for high-heat cooking.
Garlic powder : Distributes more evenly than fresh garlic, which can burn in a hot skillet. If you want fresh garlic flavor, add minced garlic to the pepper mixture instead.
Chili powder: Adds earthy, mild heat and the smoky backbone of fajita flavor. This is different from cayenne. Don't swap them 1:1 or your fajitas will be punishingly spicy.
Ground cumin: The warm, slightly bitter note that makes fajita seasoning taste like fajita seasoning. Skipping this flattens the whole profile.
Brown sugar (optional): Balances acidity and helps with caramelization. You can skip it, but your char won't be as deep and the flavor won't pop as much.
Black pepper and red pepper flakes (to taste): Black pepper adds sharpness. Red pepper flakes add heat. Adjust based on your tolerance.
Bell peppers: Green, red, yellow, or orange all work. Red and yellow are sweeter. Green is more bitter and vegetal. Slice them into strips about the same width as your chicken for even cooking. Buy firm peppers without soft spots.
Yellow onions: Sweet when caramelized, sharp when raw. Slice them thick so they hold up to high heat. White onions work too and have a cleaner, more pungent flavor.
Flour tortillas or corn tortillas: Flour tortillas are traditional for Tex-Mex fajitas and stay soft and pliable. Corn tortillas are more authentic to Mexican cooking but can crack if not warmed properly. Warm them in a dry skillet, wrapped in foil in the oven, or directly over a gas flame for a little char.
Toppings: Sour cream, pico de gallo, guacamole, shredded cheese, cilantro, and extra lime wedges. These aren't just garnish. They add cool contrast, acidity, richness, and texture. Build your own fajita the way you want it.
If you can't find good fresh limes, bottled lime juice works but tastes flat. If you're missing chili powder, use taco seasoning but cut the amount in half since it's saltier and more concentrated.
How to Cook Fajitas Like a Line Cook
This is where most home cooks lose the plot. The steps are simple, but the timing and heat control matter.
- Prep the chicken. Slice 1.5 to 2 pounds of chicken breasts into strips about half an inch thick. Try to keep them uniform so they cook at the same rate.
- Make the marinade. In a large bowl, whisk together lime juice, cumin, salt, chili powder, smoked paprika, onion powder, cayenne pepper, chopped cilantro, and garlic powder. Toss the chicken strips in the marinade until every piece is coated. Cover and refrigerate for 30 minutes to 2 hours. Don't go longer or the texture gets weird.
- Prep your vegetables. While the chicken marinates, slice 2 to 3 bell peppers and 1 large yellow onion into strips. Keep them about the same size as your chicken. Set them aside at room temperature.
- Heat your skillet. Place a large skillet or cast-iron skillet over medium-high heat and let it preheat for 3 to 4 minutes. Add 1 tablespoon of olive oil or canola oil and swirl to coat the bottom of the pan. The oil should shimmer but not smoke.
- Sear the chicken in batches. Remove the chicken from the marinade and shake off any excess. Don't dump all the chicken in at once. Work in two batches. Lay the strips in a single layer with space between each piece. Let them cook undisturbed for 2 to 3 minutes until you see a golden-brown crust forming on the bottom. Flip and cook another 2 to 3 minutes. The internal temp should hit 165°F. Transfer to a plate and repeat with the second batch, adding a little more oil if the pan looks dry.
- Cook the peppers and onions. Once all the chicken is out, add another tablespoon of oil to the same hot skillet. Toss in your bell peppers and onions. Stir occasionally but let them sit long enough to char in spots. This takes 5 to 7 minutes. You want them tender but still with some bite. Scrape up any browned bits stuck to the bottom of the pan with a wooden spoon. That's flavor.
- Combine and serve. Add the cooked chicken back into the skillet with the peppers and onions. Toss everything together for 1 minute just to marry the flavors. Taste and adjust salt if needed. Serve immediately on warm tortillas with your favorite toppings.
If your chicken releases a lot of liquid in the pan, your heat wasn't high enough or you crowded the pan. Next time, crank the heat and cook in smaller batches. If your peppers are getting too dark before they soften, lower the heat slightly and add a tablespoon of water to create a little steam.
The key is aggressive heat, patience, and not rushing the sear.
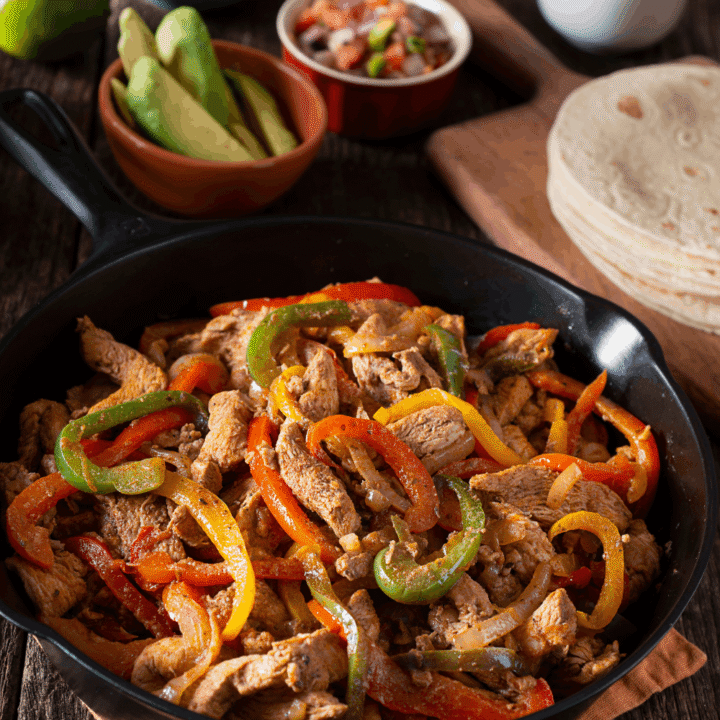
Restaurant Style Chicken Fajitas - High protein, Homemade
Learn how to make juicy restaurant-style chicken fajitas at home using a simple marinade, high heat, and the right searing technique. This recipe includes step-by-step instructions, ingredient tips, and pro secrets for perfectly charred peppers and tender chicken every time.
Ingredients
- 1.5 pounds Chicken Thighs (can sub chicken breast)
- 2 Tablespoon Lime Juice
- 2 Tablespoon Cumin
- 2 Teaspoons Sea Salt
- 1 Teaspoon Chili Powder
- 2 Teaspoons Smoked Paprika
- 1 Teaspoon Onion Powder
- 1/8 Teaspoon Cayenne Pepper
- 1/2 cup Chopped Cilantro
- 1 Tablespoon Garlic Powder
- 2 Tablespoons Olive Oil or Avocado oil
- 3 Bell Peppers (red, yellow, or green), sliced
- 1 Onion, sliced
- 12 6-inch Fajita Style Flour Tortillas
- For Serving:
- Sour Cream
- Queso
- Guacamole
- Pico de Gallo
- Cilantro
Instructions
- Slice 1.5 pounds of chicken breasts into strips about half an inch thick. Try to keep them uniform so they cook at the same rate.
- In a large bowl, whisk together lime juice, cumin, salt, chili powder, smoked paprika, onion powder, cayenne pepper, chopped cilantro, and garlic powder. Toss the chicken strips in the marinade until every piece is coated. Cover and refrigerate for 30 minutes to 2 hours. Don't go longer or the texture gets weird.
- While the chicken marinates, slice the bell peppers and onion into strips. Keep them about the same size as your chicken. Set them aside at room temperature.
- Place a large skillet or cast-iron skillet over medium-high heat and let it preheat for 3 to 4 minutes. Add 1 tablespoon of olive oil or avocado oil and swirl to coat the bottom of the pan. The oil should shimmer but not smoke.
- Remove the chicken from the marinade and shake off any excess. Don't dump all the chicken in at once. Work in two batches. Lay the strips in a single layer with space between each piece. Let them cook undisturbed for 2 to 3 minutes until you see a golden-brown crust forming on the bottom. Flip and cook another 2 to 3 minutes. The internal temp should hit 165°F. Transfer to a plate and repeat with the second batch, adding a little more oil if the pan looks dry.
- Once all the chicken is out, add another tablespoon of oil to the same hot skillet. Toss in your bell peppers and onions. Stir occasionally but let them sit long enough to char in spots. This takes 5 to 7 minutes. You want them tender but still with some bite. Scrape up any browned bits stuck to the bottom of the pan with a wooden spoon. That's flavor.
- Add the cooked chicken back into the skillet with the peppers and onions. Toss everything together for 1 minute just to marry the flavors. Taste and adjust salt if needed. Serve immediately on warm tortillas with your favorite toppings.
Nutrition Information:
Yield: 6 Serving Size: 1Amount Per Serving: Calories: 671Total Fat: 29gSaturated Fat: 7gUnsaturated Fat: 22gCholesterol: 146mgSodium: 1450mgCarbohydrates: 67gFiber: 7gSugar: 3gProtein: 38g
The Moves That Separate Home Cooks from Pros
You've got the recipe. Now here's the edge.
Let your chicken come to room temperature before cooking. Cold chicken straight from the fridge hits a hot pan and drops the temperature instantly, which kills your sear. Let it sit out for 15 to 20 minutes while the skillet preheats.
Don't skip the acid in the marinade, but don't overdo it either. Lime juice tenderizes and flavors, but too much or too long turns the texture chalky. The 30-minute to 2-hour window is the sweet spot.
Use the biggest skillet you own. More surface area means better heat distribution and less crowding. If you only have a small pan, cook the chicken in three batches instead of two.
Char your tortillas. Warm tortillas are good. Charred tortillas with a few blistered spots are restaurant-level. Heat them directly over a gas flame for 10 to 15 seconds per side, or use a dry skillet on high heat.
Add a squeeze of fresh lime right before serving. That bright pop of acid at the end wakes up all the other flavors. It's the difference between good and unforgettable.
Don't overthink the toppings. Sour cream cools the heat. Pico de gallo adds freshness. Cheese adds richness. Cilantro adds herbal brightness. You don't need all of them, but pick at least two.
If you really want to flex, finish the chicken and peppers with a pat of butter in the skillet right before serving. It adds gloss and a subtle richness that makes everything taste more expensive.
These tweaks don't take extra time. They just take intention.
What to Serve Alongside Your Fajitas
Fajitas are a full vibe on their own, but the right sides and drinks make it a whole experience.
Mexican rice or cilantro-lime rice: Fluffy, slightly tangy, and soaks up any extra juice from the fajita filling. It's the classic pairing and adds bulk to the meal.
Refried beans or black beans: Creamy, earthy, and protein-packed. They balance the brightness of the fajitas and add richness.
Chips and guacamole or queso: For the table. People will destroy a bowl of guac while the fajitas are cooking. It's non-negotiable.
Street corn (elote): Charred corn slathered in mayo, cotija cheese, chili powder, and lime. It's sweet, savory, tangy, and smoky all at once.
Margaritas: Classic lime margaritas on the rocks with good tequila and a salted rim. Skip the sugary mixes. Use fresh lime juice, a little agave or simple syrup, and a solid blanco or reposado tequila.
Mexican beer: Ice-cold Modelo, Pacifico, or Tecate with a lime wedge. Light, crisp, and cuts through the richness of sour cream and cheese.
Agua fresca: If you want something non-alcoholic, a watermelon or cucumber-lime agua fresca is refreshing and balances the spice.
You don't need to go full spread every time, but rice, beans, and a cold drink turn fajita night into an event.
How to Store and Reheat Without Losing the Magic
Leftover fajitas are clutch for meal prep, but reheating them wrong turns juicy chicken into rubber.
Storage: Let the chicken and pepper mixture cool to room temperature, then transfer to an airtight container. Store in the fridge for up to 4 days. Keep the tortillas and toppings separate so nothing gets soggy.
Reheating the filling: The best method is a hot skillet. Heat a tablespoon of oil over medium-high heat and toss the fajita filling for 3 to 4 minutes until warmed through and starting to char again. This brings back the texture. Microwaving works in a pinch but makes everything soft and bland. If you microwave, do it in 30-second bursts and add a splash of water to keep it from drying out.
Reheating tortillas: Wrap them in a damp paper towel and microwave for 20 to 30 seconds, or heat them individually in a dry skillet for 10 seconds per side.
Freezing: You can freeze cooked fajita filling in a freezer-safe container for up to 3 months. Thaw in the fridge overnight and reheat in a skillet. The texture won't be as perfect as fresh, but it's still way better than takeout.
If you're meal-prepping, portion the filling into individual containers with a side of rice and beans. Warm tortillas fresh each time for the best results.
Fajitas aren't just a dinner. They're a reason to gather, layer flavors the way you want them, and eat something that tastes like you went out when you stayed in. The marinade does the work. The heat does the magic. You just have to show up, crank the burner, and let the sizzle do the talking.
Once you nail this version, you'll never settle for sad, steamed chicken again.

Leave a Reply